


White Balance
White balance is a small adjustment that can make a huge difference to your images. To put it simply, white balance is how your camera attempts to make white things look white in your photos. This impacts how all the other colours look as well. Most cameras do this for you automatically, but you can’t always trust your camera to get it right. (In fact, I rarely do.) You might have noticed some photos taken in the shade look really cool, or blue. Or maybe you’ve noticed that your photos of snow look grey instead of white. One of the most obvious cases of the camera not managing white balance well is indoor photos taken in artificial light, for example, lamplight. They look really yellow, right?
There are a lot of ways to control your white balance, both with your camera and also with post production software like Photoshop, or free programs like Picasa. Most DSLRs provide you with the option to select settings like “cloudy” or “flourescent”. You can also do custom white balance by taking a photo of a grey card and letting the camera define that as neutral. Up until recently I was leaving white balance up to my camera’s auto white balance setting (the grey card is a bit of a hassle), especially because I most often shoot children who don’t wait for me to do a custom white balance. However, now I use Kelvin settings to define the white balance for my camera and I’m really liking it. I examine the light, and then determine the appropriate Kelvin temperature setting and input that into my camera. What’s nice is that if the preview of my images looks just a tad warm or cool, I can do a minor tweak of the Kelvin number which normally fixes it. Sorry if I’ve rambled on too much about this! I’m drawn to both the creative and the geeky sides of photography but I understand that not everyone is.
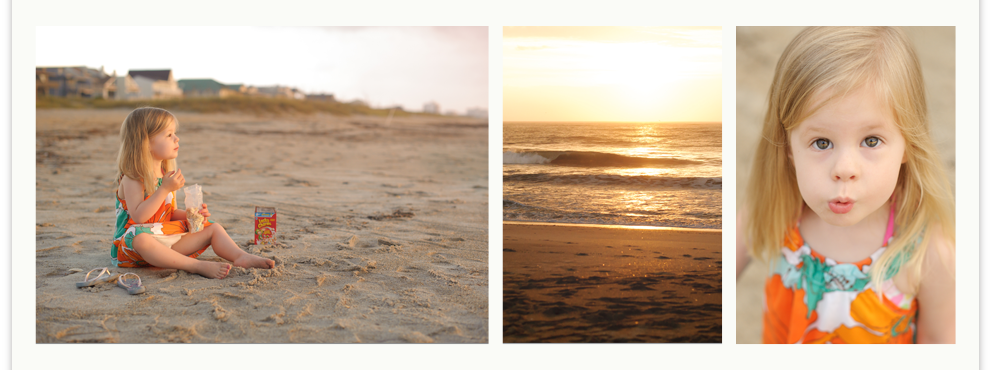
So, onto today’s Before and After. It was getting late and I hadn’t yet taken Eliza’s 365 photo today. So, I grabbed my camera and we went into the backyard. I also grabbed my new sunhat… thinking maybe I could get a cute photo of her wearing it. She ran out the door like a little girl on a mission, and I coaxed her into the pretty patch of sunlight by our clothesline, putting the hat on her. What I neglected to do was make sure I had my camera settings right, both for exposure and white balance (I shoot in Manual mode). Eliza had the hat off and was running away from me within seconds, so not having my camera ready was a big mistake. I quickly snapped some shots anyway and adjusted on the fly, hoping for the best. To make a long story short (or is it too late for that?) my favourite photo was overexposed and the white balance was too cool. Take a look at the shot straight out of camera:

Now, the good news is that I shoot my photos in RAW format which allows me much more flexibility in the amount of changes I can make in post production. Especially with things like exposure and white balance. It is always best to try and get these things right in-camera, but nice to be able to make fixes in post production when things don’t go as planned. So, with some exposure adjustments, and warming up the white balance I was able to get an image with a very different (and better, in my opinion) look:

You can really feel the warmth and light of the sunset in this version. In fact, I might have even pushed it a little warmer and pinker than what would technically be correct (if there is such a thing). It’s fun to get creative 🙂 If you’ve never tried playing around with the white balance in your photos, why don’t you give it a try?
.png)

Great post! I’ve just started to use Kelvin and love it!!